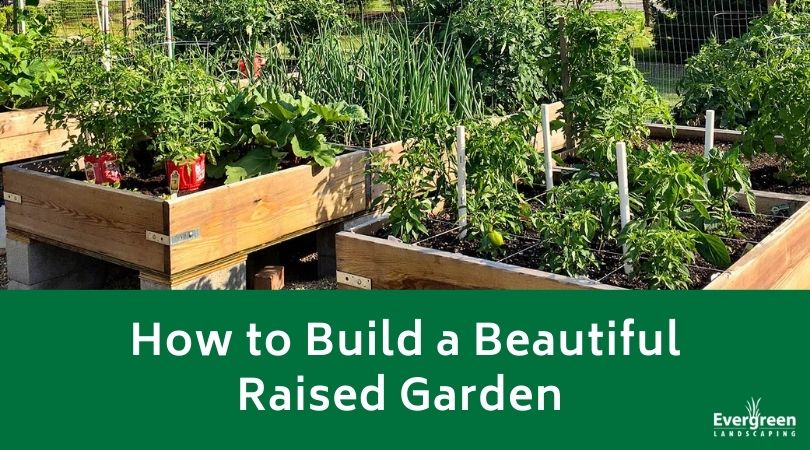
There are several reasons why you’d want to build a raised vegetable garden. They sit above the ground inside of a frame that you make out of wood or another durable material. If your land has clay, sandy, or hard-packed soil, you can create the perfect growing environment for whatever flowers, vegetables, or plants you want to grow.
Plants get lifted out of the way of pests and pets or kids, and the soil will warm up much quicker and stay warmer for longer. This will extend your growing season and give you gentler conditions for delicate transplants and new seeds to thrive. Vegetables, fruits, and ornamentals will send deeper roots in to look for water, and this gives them a stronger foundation while improving their health. Raised beds also keep your yard neat and tidy. Best of all, it’s not a difficult project to make a raised garden bed. We’ll walk you through how below.
Step One – Gather Your Supplies
The beauty of this raised garden bed is that it’s easy to build and cost-effective. The rebar and wood you need shouldn’t cost more than $50.00 if you’re going to use untreated planks. You can complete the entire build from start to finish in a few hours. The untreated pine may only last between 5 and 10 years, but due to this build’s nature, each board is easy to replace when it breaks down without ripping the whole thing apart. To create a 4-foot by 8-foot raised garden bed, you’ll need:
- Two 2-foot by 12-foot planks cut into 8-foot sections
- Two 2-foot by 12-foot planks cut into 4-foot sections
- 12 pieces of 2-foot rebar
- Cardboard or newspaper
- Rubber mallet
- Soil
Step Two – Position the Boards
Find a level section of ground and lay your boards down so the inner corners touch. Stand a single long board up on the side and hammer two pieces of rebar a foot from each corner with your rubber mallet. The rebar should go a few inches into the ground.
Step Three – Prop up Your Short Sides
Get a piece of rebar for the center of each for the temporary supports. Next, prop up your second long side and adjust your frame’s alignment as necessary. Hammer your rebar a few inches into the ground a foot from the corner of each second long side to secure it.
Step Four – Add Additional Support
Hammer your rebar pieces a few inches deep into the ground a foot from each corner of the short sides before removing the temporary supports. Add two pieces of rebar along each long side, two feet apart. This will help reinforce your frame when it’s full of soil. Next, hammer your rebar into the ground until 6 to 10 inches are sticking up above the ground level.
Step Five – Fill
Once you get the frame in place and supported, take your newspaper or cardboard and line the bottom of the frame. Get some water and wet it thoroughly. When you finish, fill your new bed with the soil until it’s a few inches from the top of the walls and plant your items.
Contact Evergreen Landscaping
If you’re like assistance or advice on how to create a beautiful and lasting raised garden bed, contact us today.
