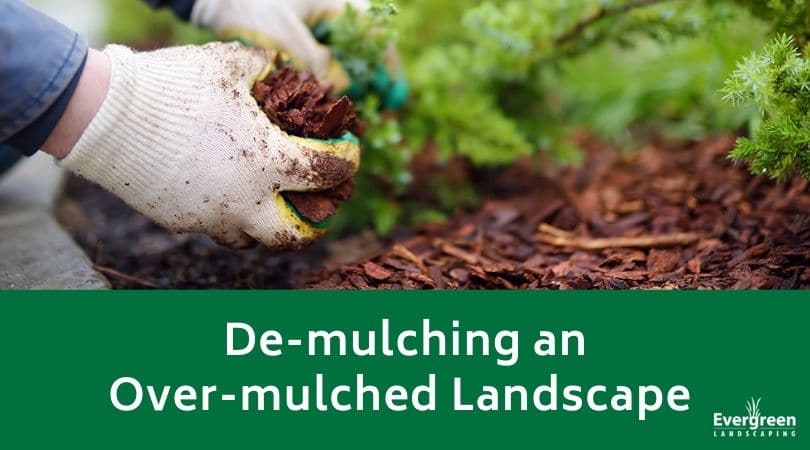
De-mulching an Over-mulched Landscape
Mulching with a high-quality product can have many benefits for a plant bed in terms of insulating your plant roots and improving the soil’s moisture retention rate. However, using a poor-grade mulch can do more harm than good, especially if you pick out a processed wood mulch or one made out of processed green waste because it doesn’t feature the same decomposition benefits that hardwood mulches do.
Also, not applying it properly to your space and have a negative impact. You may make the mistake of applying two inches of mulch each time you do, but you forget to take into account the mulch that is already there. This can lead to excessive mulch layers piling up, and this can hurt your plants. Since this is such a widespread problem, you should learn how to de-mulch an area. Even if this sounds counterintuitive, it’s essential to helping restore the health of your landscape.
De-mulching is a process where you expose the root flare by taking away layers of decomposed mulch, excess mulch, and soil from the plant’s saucer down to the plant’s root flare.
Fixing an Over-Mulched Area
When you over-mulch an area, many landscapers call this creating a mulch volcano. It’s such a common mistake that even professional-grade gardeners make it. If you’ve inherited or created a property with these so-called mulch volcanoes, it’s essential that you know how to fix it before it does a lot of damage.
One of the biggest signs that you have this problem in your landscape is not being able to visually see the root flares because they’re buried. You may notice symptoms in your trees too. One of the earliest tells that you have this problem is that your foliage will start to yellow too early in the season and drop. Over time, this can continue getting worse and creating a reduced growth rate, stunted leaf growth, and dieback on your tree’s crown. The tree is weak in this state, and it can make it more prone to developing issues with diseases. Root flare burial and over-mulching is a bigger problem for shallow-rooted tree species like dogwoods, maples, ash, birch, spruce, pin oak, and Eastern white pine.
Proper De-Mulching
You want to de-mulch any trees that have buried root flares, and it’s a good idea to do it on the tree beds too. You should perform this process every five to seven years at a minimum to keep your mulch heights down if you apply fresh mulch annually. This is a relatively straightforward and easy process to accomplish.
All you’ll need to de-mulch the area is a wheelbarrow and a shovel. Carefully remove any old mulch from the area using a shovel and loading it into a wheelbarrow. You can dispose of it in the compost pile, where it’ll break down if it’s an organic mulch. Apply a thin layer of fresh mulch to the area, and be mindful of how much mulch you apply each season so it doesn’t go over two inches thick.
Contact Evergreen Landscaping
If you’re not sure how much mulch you should apply or you need help de-mulching your area, contact us. We’re happy to help clear out the problem areas and get your plants or trees back to good health.